Endure Secure Knowledge Base
Installing a Wildcard SSL/TLS Certificate on a Synology NAS
Preparation
You will need the following:
- Administrator access to your Synology NAS. I’m using a Synology DS918+ running DSM 6.2.4-25556.
- Your Private Key from your Public/Private Key Pair. It should have the file extension of .key and when opened in a text editor, should look like the following:
-----BEGIN PRIVATE KEY-----
<base 64 encoded private key>
-----END PRIVATE KEY-----
- Your Certificate Signing Request. You may have generated this using OpenSSL. It contains details about your domain, your organisation, and also contains the Public Key from your Public/Private Key Pair. It should have a file extension of .csr and look like this:
-----BEGIN CERTIFICATE REQUEST-----
<base 64 encoded certificate request>
-----END CERTIFICATE REQUEST-----
- The Certificate Authority file. This should have a file extension of .ca and look like this:
-----BEGIN CERTIFICATE-----
<base 64 encoded certificate>
-----END CERTIFICATE-----
-----BEGIN CERTIFICATE-----
<base 64 encoded certificate>
-----END CERTIFICATE-----
Each of these files are in PEM format, which is just a Base64 encoded binary file so that they can be read as text files. Decoding these files will result in mainly non-printable characters. For more info have a read about Privacy-Enhanced Mail.
Installation
- Log into the Synology Disk Station as an administrator.
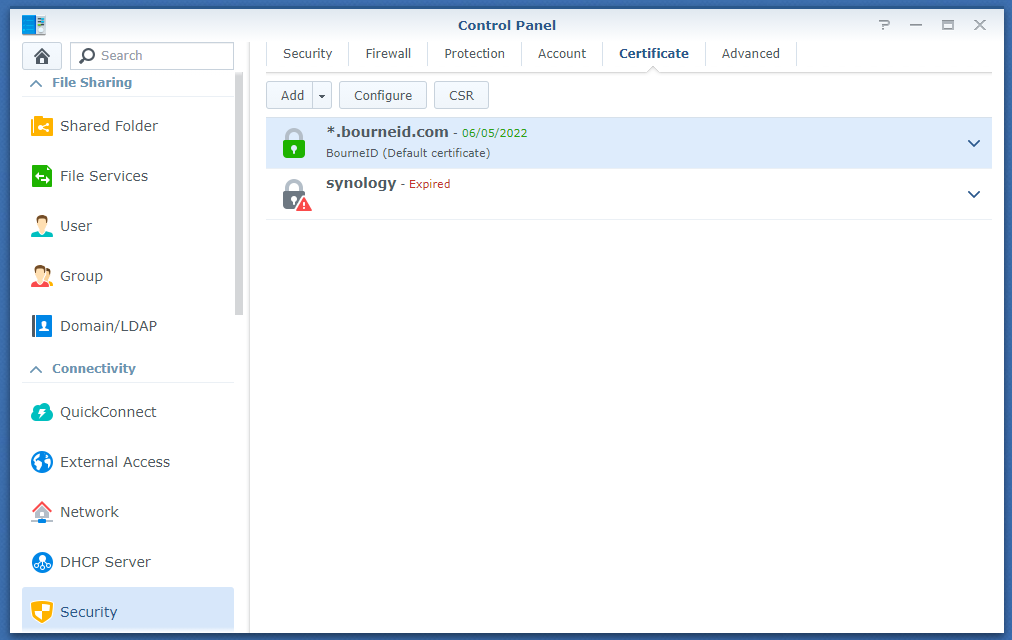
- Go to Control Panel > Security > Certificate

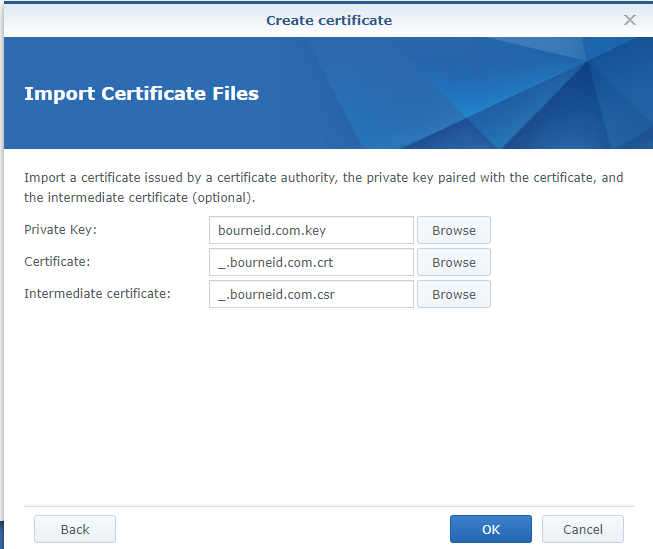
- Click Add > Add a new certificate > Import certificate. Provide a description in the Description field.
- On the Import Certificate Files screen, click Browse and select each of the required files and then click OK:

- The Web Server will restart and a few minutes later you will land back at the Synology Web Interface dashboard. You may need to log in again.
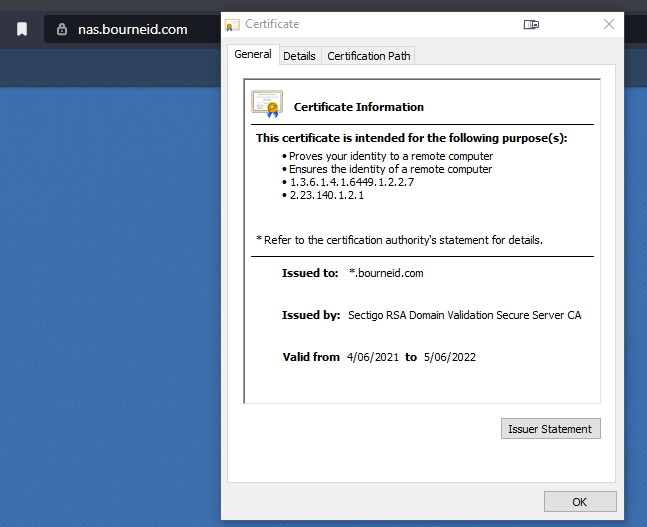
- The wildcard certificate should now be installed. Check your browser. In most browsers, click on the padlock in the address bar and then click View Certificate:
